
I always get some questions about some of our costumes and our build process. I have a few build threads on the Rebel Legion boards and the Saber Guild forums to help out any potential Kanans. But I thought I’d post up here and let everyone know how something like this gets put together.
The answer is piece by piece.
It all starts with references.
Now after 2 seasons of an awesome TV show collecting references is as easy as googling “Kanan Jarrus” and grabbing some from his front, sides, back, maybe a few close ups of paint or sewing details and making your plan from there.
But when I did this you couldn’t exactly do that. In fact I had only one real resource.
This Meet Kanan video.
So I went to work screenshotting every image I thought might help from this video. From concept art to render and everything in between. Once I put everything together I didn’t have very much but I had enough. The only real detail I felt was missing was the design on the shoulder armor. I had some pics of it but nothing really clear and detailed…. But at the time I was more worried about the details on Sabine’s armor so I figured I could repaint in details that I’d missed once the show came out. If there were any conflicting details I’d have to decide which way to go. I usually take final render over any concept but when there’s not a lot to work with it sometimes feels like you could miss something. The more and better references you have, the much better plan you can follow. Back before the show aired I was working off of blurry screen caps from a YouTube video, eventually, they released things like this:
… which would have been an amazingly helpful resource…. but oh well…
(By the way, my Kanan references are much better and detailed these days and I’ve got them in a facebook album here.)
So I had my references and then set to putting together my plan. Now I have this really cool app called Cosplanner that helps me put in info like pieces needed, budget, and time worked on. But back then, I had a piece of paper and I wrote out my plan like a grocery list.
- Grey pants
- Green/yellow shirt
- Brown/grey boots
- Black belt/holster
- Knee armor
- Chest armor
- Arm armor
- Shoulder armor
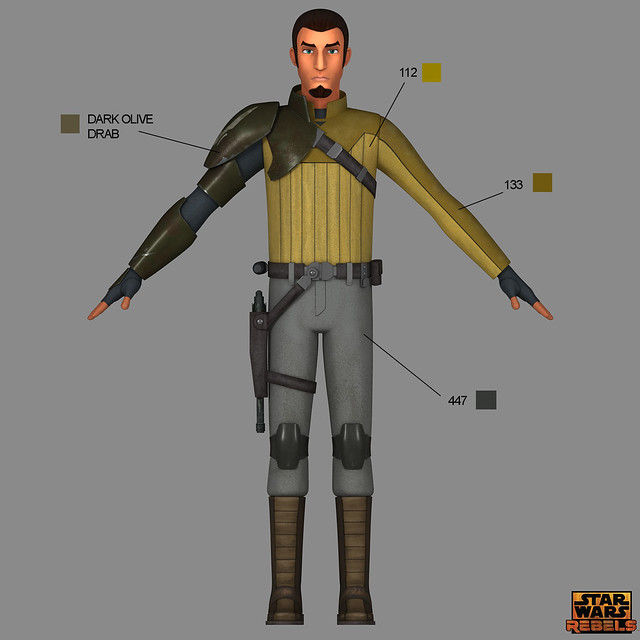
Now one thing I noticed straight away was the colors. Without that helpful color identifier ^^^ up there I had to make my best assumptions based on lighting/image quality and so on.
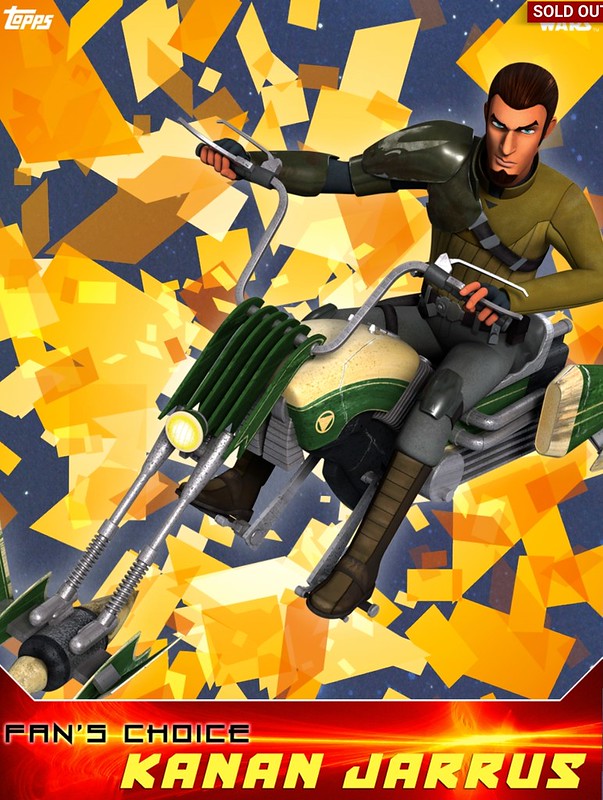
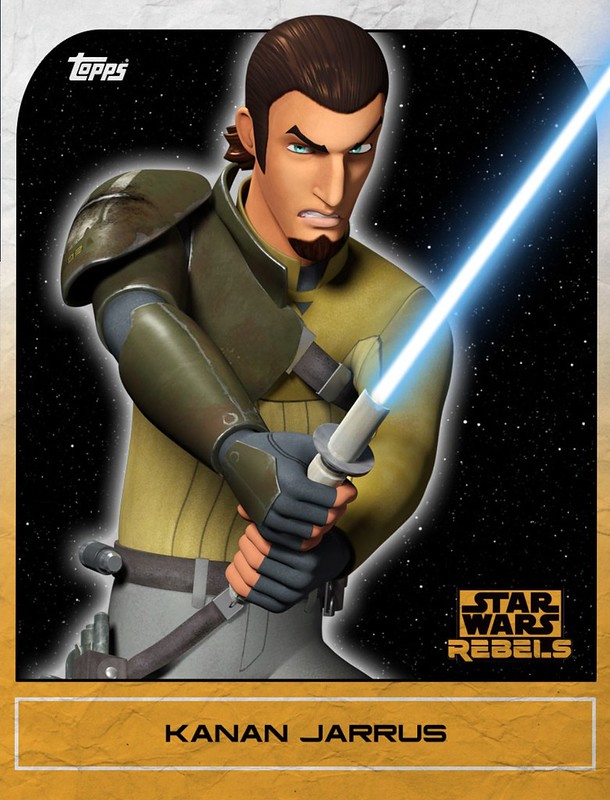
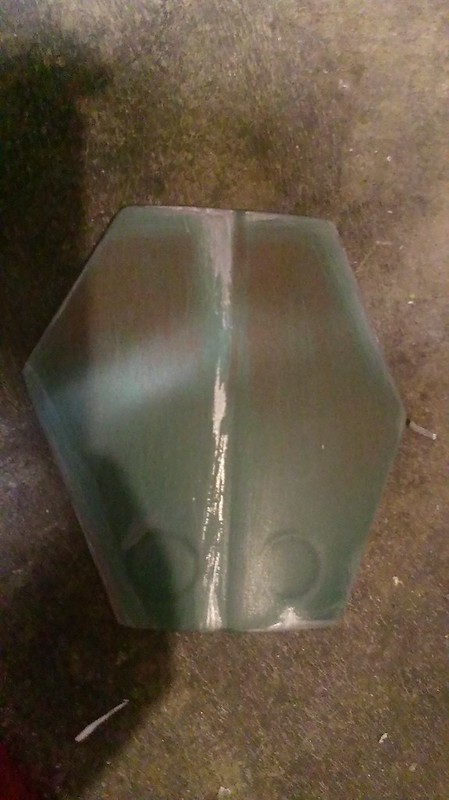
Like if the armor was very very dark or….
in this pic a brighter dark green.
And don’t even get me started on the shirt. In some pics, it looks more yellowish, some pics greener. I knew it was a mix of both and I had to settle on materials and colors to get started.
Going off those old pics I decided the armor was a dark green and the shirt was a greener top with a lighter yellow-green bottom. Pants were easy grey but the boots looked to be brown but sometimes grey depending on the pic.
So I got started hunting.
The Hunt for Materials
I almost always start hitting thrift stores first. First of all finding, a $7.00 pair of brown boots you can alter is a huge help considering even the cheap women’s boots at Shoe City that hurt my toes run $30 on the cheaper end. When we do costumes we do them as a family so at this time I was shopping for 4 costumes so everything I can save in a budget helps.
The Build
Boots
I wasn’t satisfied with my references and was trying to find a color that looked both grey and brown. Next upgrade I’ll go straight brown but I ended up finding a pair of $25 boots at shoe city. They were grey but I hit them with a few coats of brown shoe polish until I was satisfied with the color. The details on the front were painted on with tan fabric paint which has lasted quite a while and black acrylic. They’ve lasted quite a while but they’re women’s shoes and they’re a pretty tight fit. I’ve stretched them out but they still tender up my toes after a day at a con or a Saber Guild show.

Pants.
The easiest thing of all. I just grabbed a pair of thrift store pants that fit right and were the right shade of grey. Rebel Legion will tell you there are no pockets in Star Wars although I’ve found a few. Unfortunately, in Kanan’s case, they’re right. So I had to sew them up for approval. I can’t hold my phone but I’m approved and accurate! I need more belt pouches I guess…
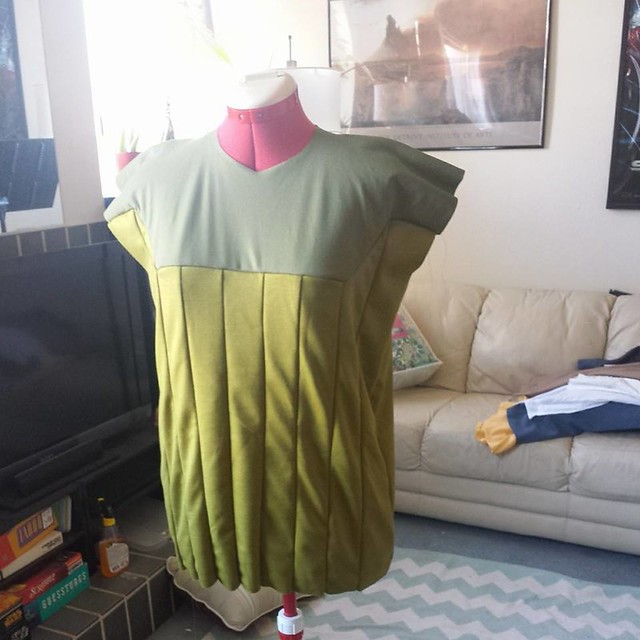
The Shirt… or… color interpretation difficulties…
Kanan’s shirt is definitely one of the hardest things to color match I’ve ever had to do. Well, Resistance Rey‘s pants are kind of up there too but I think this was worse. I found that also in matching both colors I would also have to match them to each other. My first shirt was made of 2 ladies sweaters I found on my hunts and sewed together. They matched each other pretty well but they were definitely too green.
I’m still not great at sewing but I tried my best and it came out… acceptable. The size was also iffy. The shirts were a large size for women but on me a bit fitted which was okay but way too short. I could tuck it into my pants like I’m supposed to but it would pop out every 5 minutes. The sleeve was also short so it would pull up into a 3/4 sleeve if I held a cool saber pose at all which made a big gap in between the glove and sleeve.
The easy part was the undershirt. I did what I imagined Kanan does. wear a stormtrooper body glove underneath his one sleeved tunic top. Or in my case, a black fitted long sleeved top from one of those $5 ladies shops with one sleeve cut off.
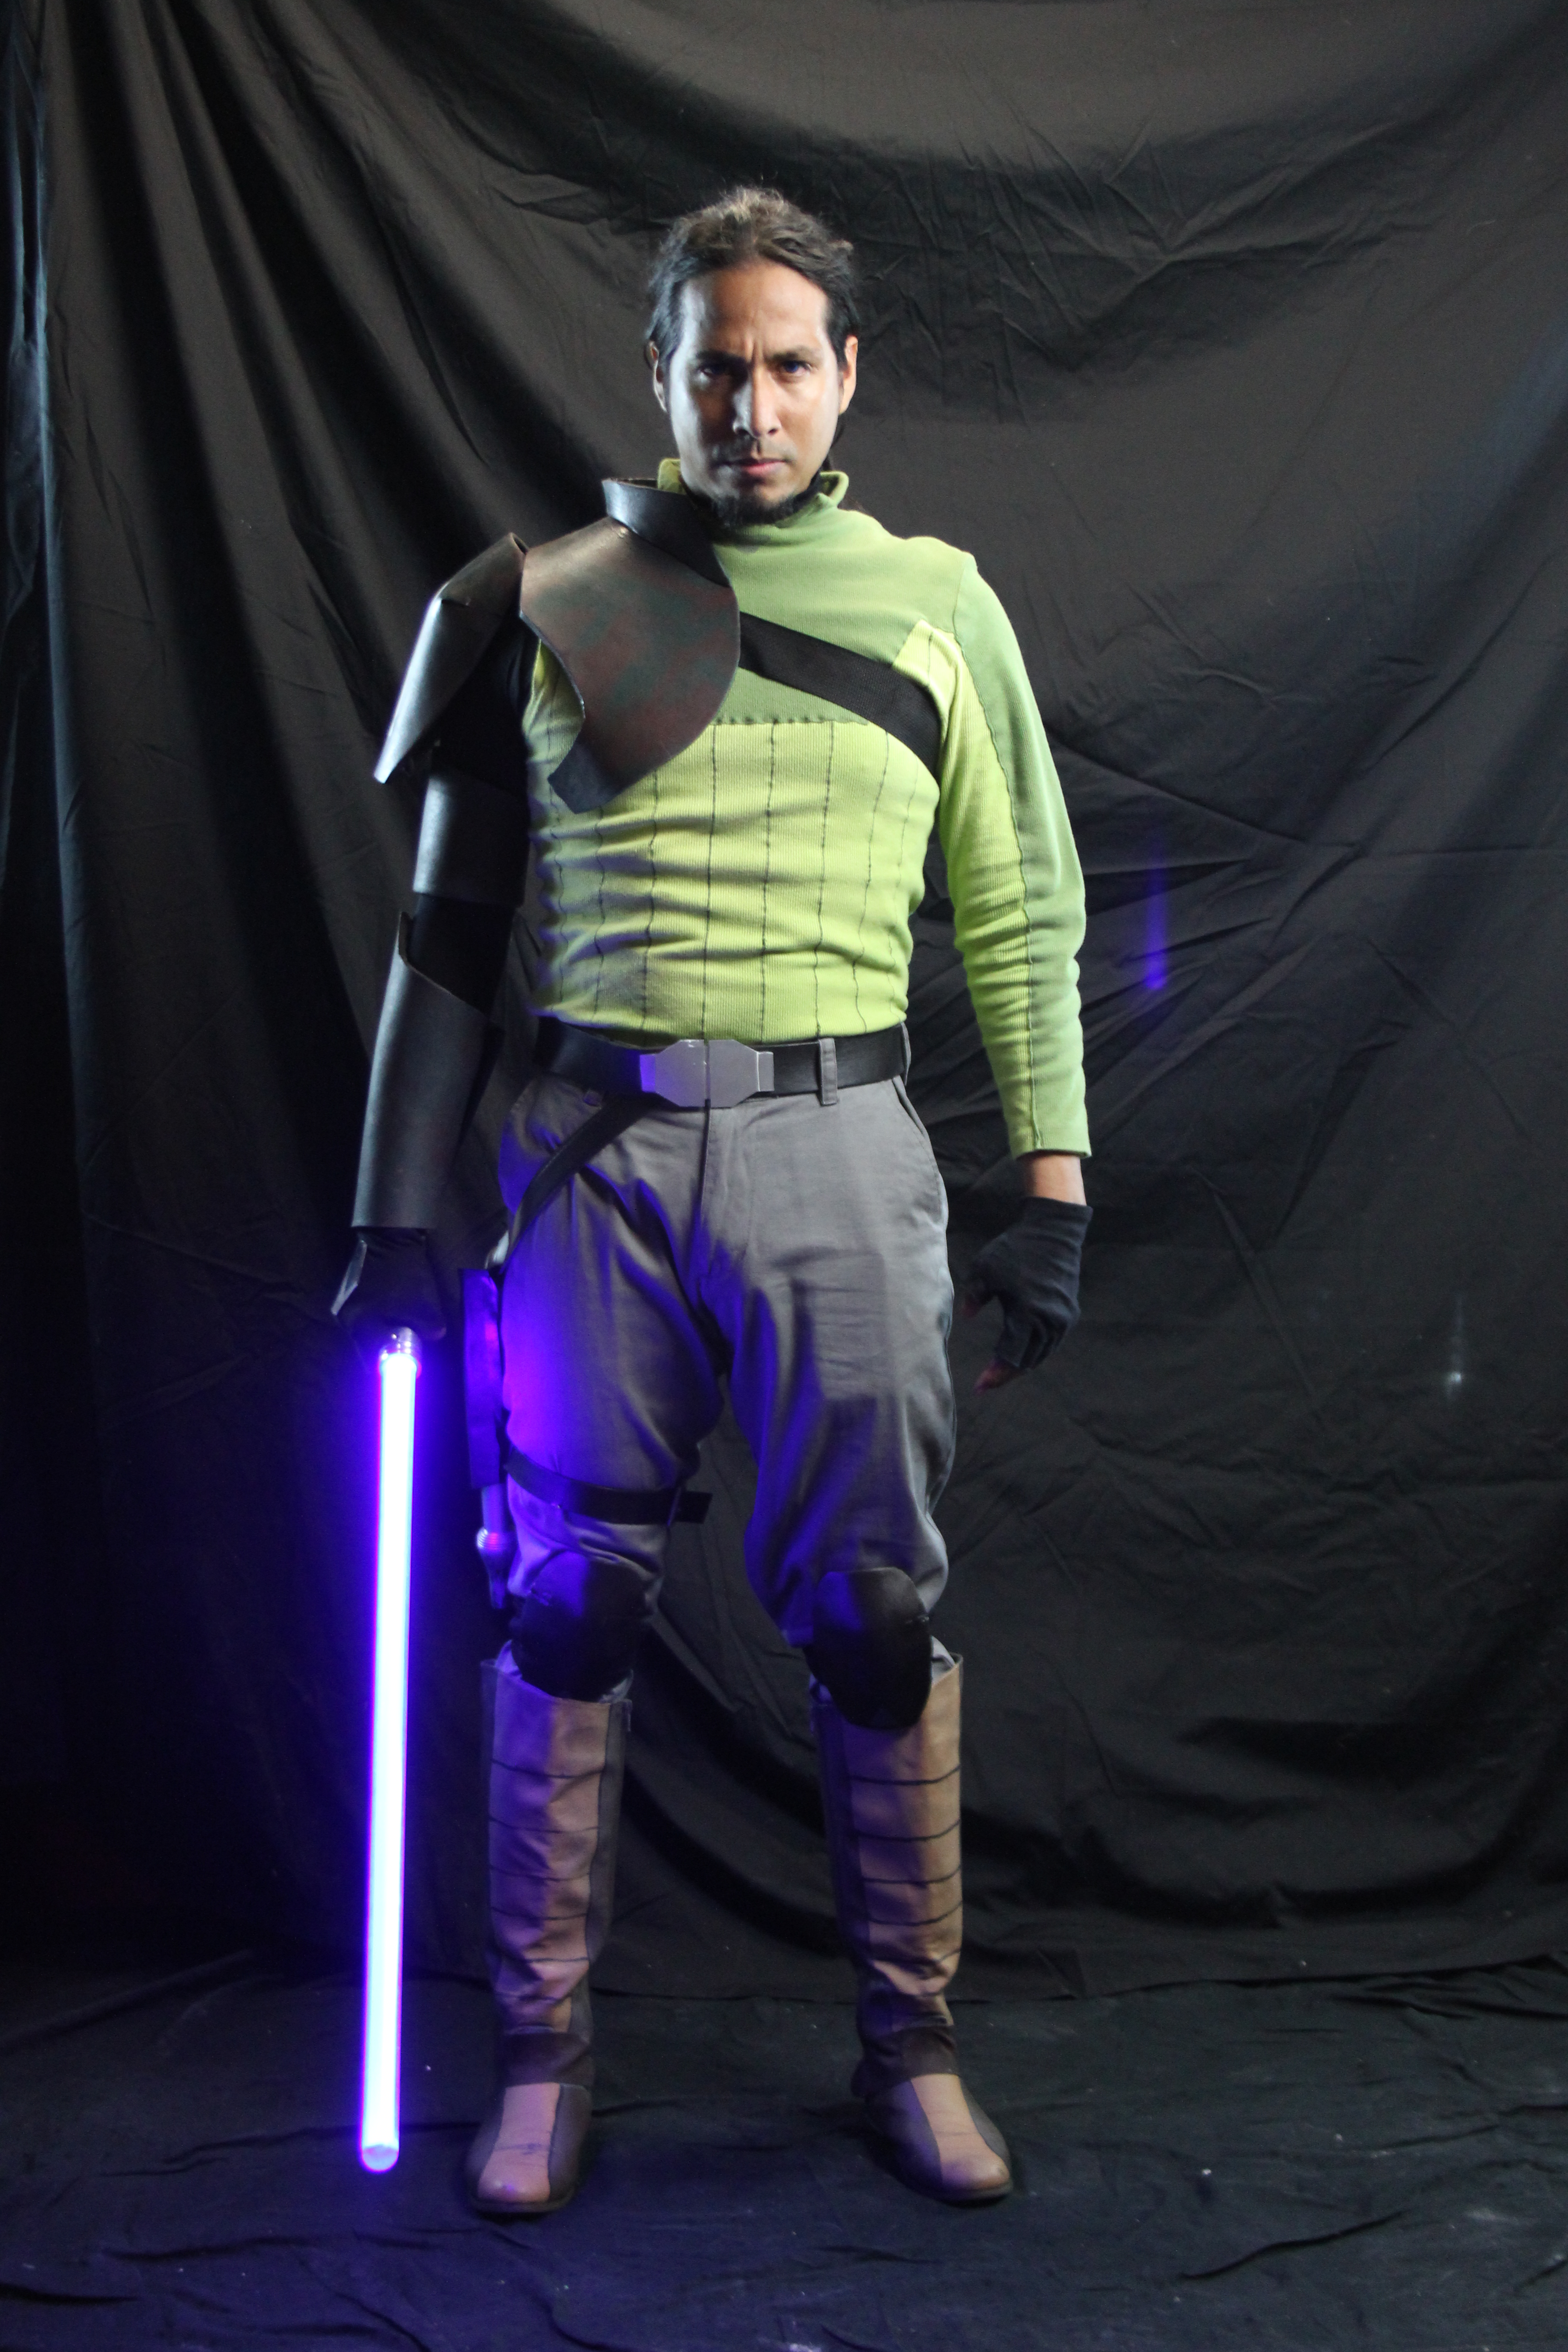
A better shirt was definitely necessary. After the first one, I found a seamstress to commission a new one. I went to the LA fabric district to find the elusive colored material that would work. It was one of those long searches where I finally found the answer digging through one of the bargain bins for whatever remained of the bolt of the top color. But finally, I had found the right colors on a stretch material that would give me the right fit and mobility to fight in and use the costume for Saber Guild. I just painted on the grey triangle.

It had to be altered a bit on the fit but it came out great and I’ve been using it ever since. Doesn’t pull untucked, and the sleeve doesn’t pull up when I raise my arm.
Finding a good seamstress is very difficult. But the things that are most important to me is that they hold to their word. If I set a deadline and they say they can make it they should not tell me they can’t do it the week before. Cosplay is fun but when I pay for a job it does have to be a little bit of business.
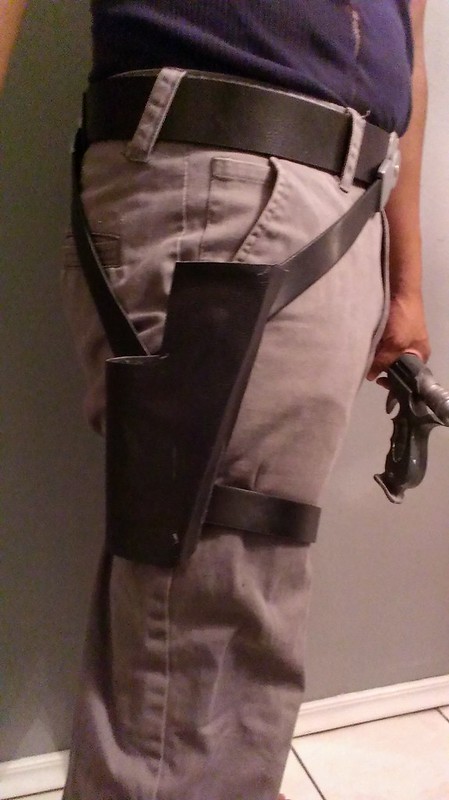
Belt and Holster
The first one was basically a cut up leather belt with some painted plastic pieces to simulate the buckle on the front and a pleather holster for a Westar-34 because at the time I couldn’t find a good DL-18. Had the Westar-34 laying around from my Korto Vos build so it was the closest thing I had at the time. Made the holster from a cardboard pattern I made from the gun. Glued black vinyl to the outside and inside and boom. Holster. Cut up some 1-inch dollar store belts and attached them to the holster and belt with Chicago screws. It worked for a while but it was never very accurate.
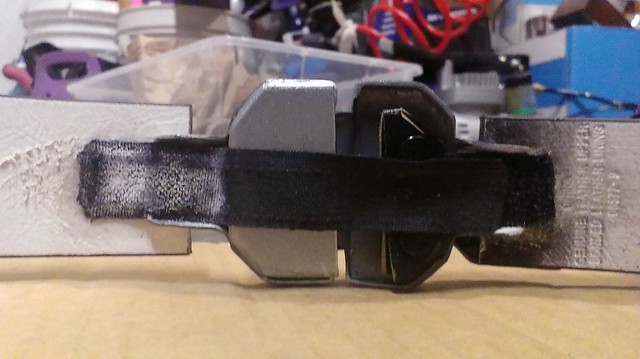
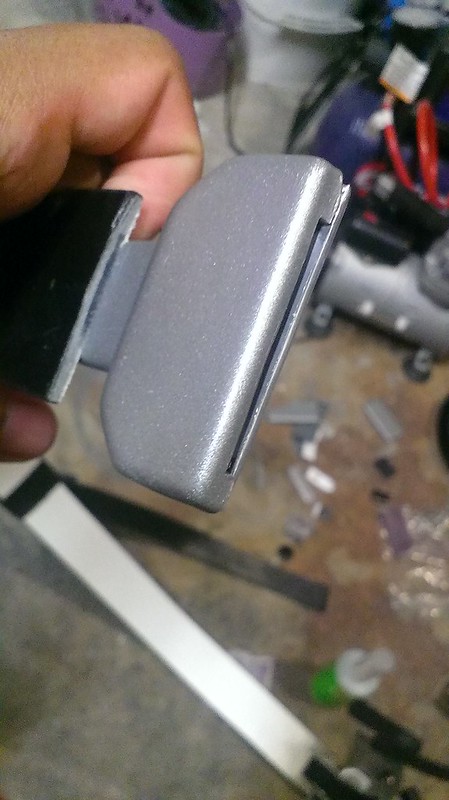
Made version 2 with the vac formed ABS pieces from the KW armor kit. Cut and dyed the leather. Made the buckle to work with snaps and velcro.
It didn’t quite work out until I made it into a kind of seat belt attachment.
When I finally got that perfect DL-18 from LToy Creations it was time for a new holster.
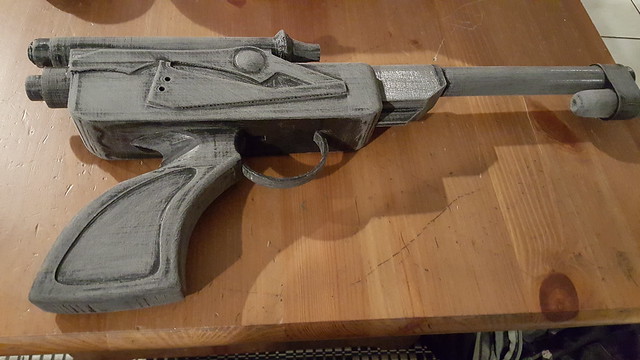
Assembled and painted and weathered the blaster and I even found the perfect dewback hide!
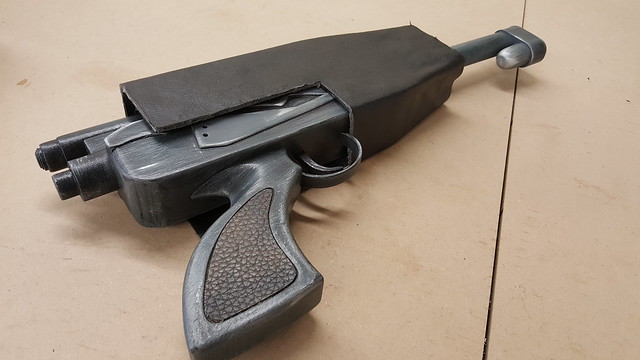
Used it as a template to make the holster our of plastic this time then glued the vinyl on same as before… but better.
Gloves
Bought some driving gloves from Daiso and cut the fingers off. Sewed a piece of velcro on to attach the hand back armor piece on the right. But the ends kept popping out of the armor/sleeve and showing skin. So I ended up going back to Daiso and buying gloves that were longer and went up the arm, now they never pop out of my sleeve. And sometimes when I do casual Kanan and want to wear the gloves with an everyday outfit I can roll up the ends and safety pin the inside and they look fine! Best of both worlds! the only thing I can do is find an actual pair of fingerless leatherish type of glove but I’ve been looking and nothing has grabbed me yet…
It’s coming together But it’s not done yet.
Much more to do so check out part 2 Where I’ll get into the Armor, Painting, Accessories, and modifications…
and always improving…

Great readding
LikeLike